Note

NOTE: Most recent posts are shown first. Please use navigation at right to start at the beginning (December 2014)

Sunday, September 6, 2015

Reno or Bust!

Since it's become my daily driver I've been dying to take the truck on a longer road trip to see how it holds up.  Troy had been talking about going to Bonneville for speed week and that's something I've always wanted to see so we made plans to go to Utah.  Unfortunately speed week was cancelled this year, but with days off already planned I started looking for something else going on around the same time that would make a fun trip.  Hot August Nights in Reno happens to be in full swing on the weekend we had planned, and it's something neither of us had been to so why not.  The wives had other things going on (and the lack of A/C in our trucks probably didn't help) so we decided to make a guys trip out of it and off we went.

We took off in the afternoon on a Thursday and went as far as Bend the first day.  Truck ran great, but a saggy spot in the bench seat was a real back killer.


We camped near Bend and between the saggy seat and sleeping on the ground my back was a wreck the next day.  Troy took over driving to give my back a much needed break and it loosened up some, but that seat had to go.  More on that later...
Anyway, we made it to Reno with no problems at all.  I only calculated fuel mileage on the first two tanks.  Tank #1, with a little in-town driving before getting on the road, was a decent 20 MPG. On the second tank, strictly freeway driving, we hit 25 MPG.  Not too bad for 65-70 MPH in a truck that's only slightly more aerodynamic than my house.


We hadn't really put a lot of thought into what to do once we got down there, we knew there were car shows at pretty much every casino but that was about it.  After checking into our hotel we decided to head to the nearest big casino and see what was up.  We had only been there for a few minutes when I spotted what looked like Crown Vic steel wheels on a Ford truck.  Sure enough it was another Cruck (our nickname for Crown Victoria trucks)...


We talked to the owner Kyle, who had driven it down from Seattle with a friend.  It was a 64- a little newer than mine but a couple years older than Troy's.  A lot more polished than ours, he kept the Vic floor and mated that to the truck cab.  He also raised his entire bed floor up to accommodate the rear end which was the only thing I wasn't too keen on.  It was great exchanging ideas, checking out his truck, and showing off mine.  We also learned that to participate/enter in all the shows, and even to cruise at night, you have to pay a $200 entrance fee in advance.  I hadn't done that, and my truck wouldn't really fit in with the sea of shiny tri-5 Chevy's, Camaros, Mustangs, etc.  No big deal, still lots to see down there.
Since we didn't have the pass to enter the cruise we decided to go have a look at the other cruisers.  Lots of revving engines, drunk crowds, pretty crazy.  So after that we went and checked out parking lot drag racing... very short track but hey, it's in a parking lot!


It was late and there wasn't much more to see so we called it a day.  

The next day we decided to hit the swap meet.  It was pretty decent, I found a big hood ornament cheap which is something I'd been looking for.  But the thing I couldn't get off my mind was these sets of bucket seats for sale... They were rear stow-n-go seats from Caravans, available in a variety of colors/fabrics.  With my aching back reminding me of my bench seat I knew I had to get a set- no idea how we could install them, but we had to find a way.  While I tried to rationalize $350 for mocha leather heated versions we went and watched some parking lot autocross that was going on.  I loved this Caddy! It could barely make the tight turns, but it was awesome.


I couldn't bring myself to spring for the most expensive seats, so I settled for black velour seats for $120.  The deal was done.  We had no welder and nothing to cut metal with, but I did have an impact driver.  We stowed the seats in the motel and headed to Lowe's for supplies.
Next up was motel parking lot engineering at it's finest.  Of course that was the only time on the trip it decided to rain, but we got it done...


Not perfect but good enough to get us home!   Reminded me of something you'd see on #roadkill.  With that handled we checked out some more show cars then went looking for this night's cruise to watch.  Troy was driving and we somehow ended up at the entrance to the cruise... we had no entry pass but played dumb, ignored the guy directing traffic yelling at us and snuck into the cruise.


I stuck a white piece of cardboard in the window that somehow passed inspection by one of the event staff (it really looked nothing like the fancy holographic pass) and we made one loop before we decided to quit pressing our luck.   We checked out one more parking lot show then called it a night.

We got up Sunday, had some breakfast, and decided to head out.  A quick stop a random garage sale, a tank of gas, and we were on our way.  We had planned to camp on the way back but we were making good time, it was a nice day, and the seats were so comfortable that we just kept going.


A stop for gas yielded the only broken part on the trip-  One of my wiper blades just spontaneously disintegrated while cleaning the windshield.  No idea why that happened, but we didn't see anymore rain so it didn't matter.

Overall I couldn't have been happy with the truck's performance.  Checking out another Cruck, swapping seats in a parking lot, and sneaking into the cruise were all way better than the rows of show cars and made for some great memories.



Friday, August 14, 2015

Six month update

I've been driving this thing for six months now, racking up a little over 6,000 miles, and figured it's long overdue for an update.
Lots of little details have been taken care of since my last post- Carpet is in, windows & door locks working good, wiring has been cleaned up, the cutout in the bed floor covered, some of the body work on the bed & a cab corner are done (thanks to Troy), exhaust has been through several iterations, and I even entered it in a car show and received an award!  Here's a few pictures I've taken along the way...

Drove in the Paddy Hough Parade with the Slo Poks 

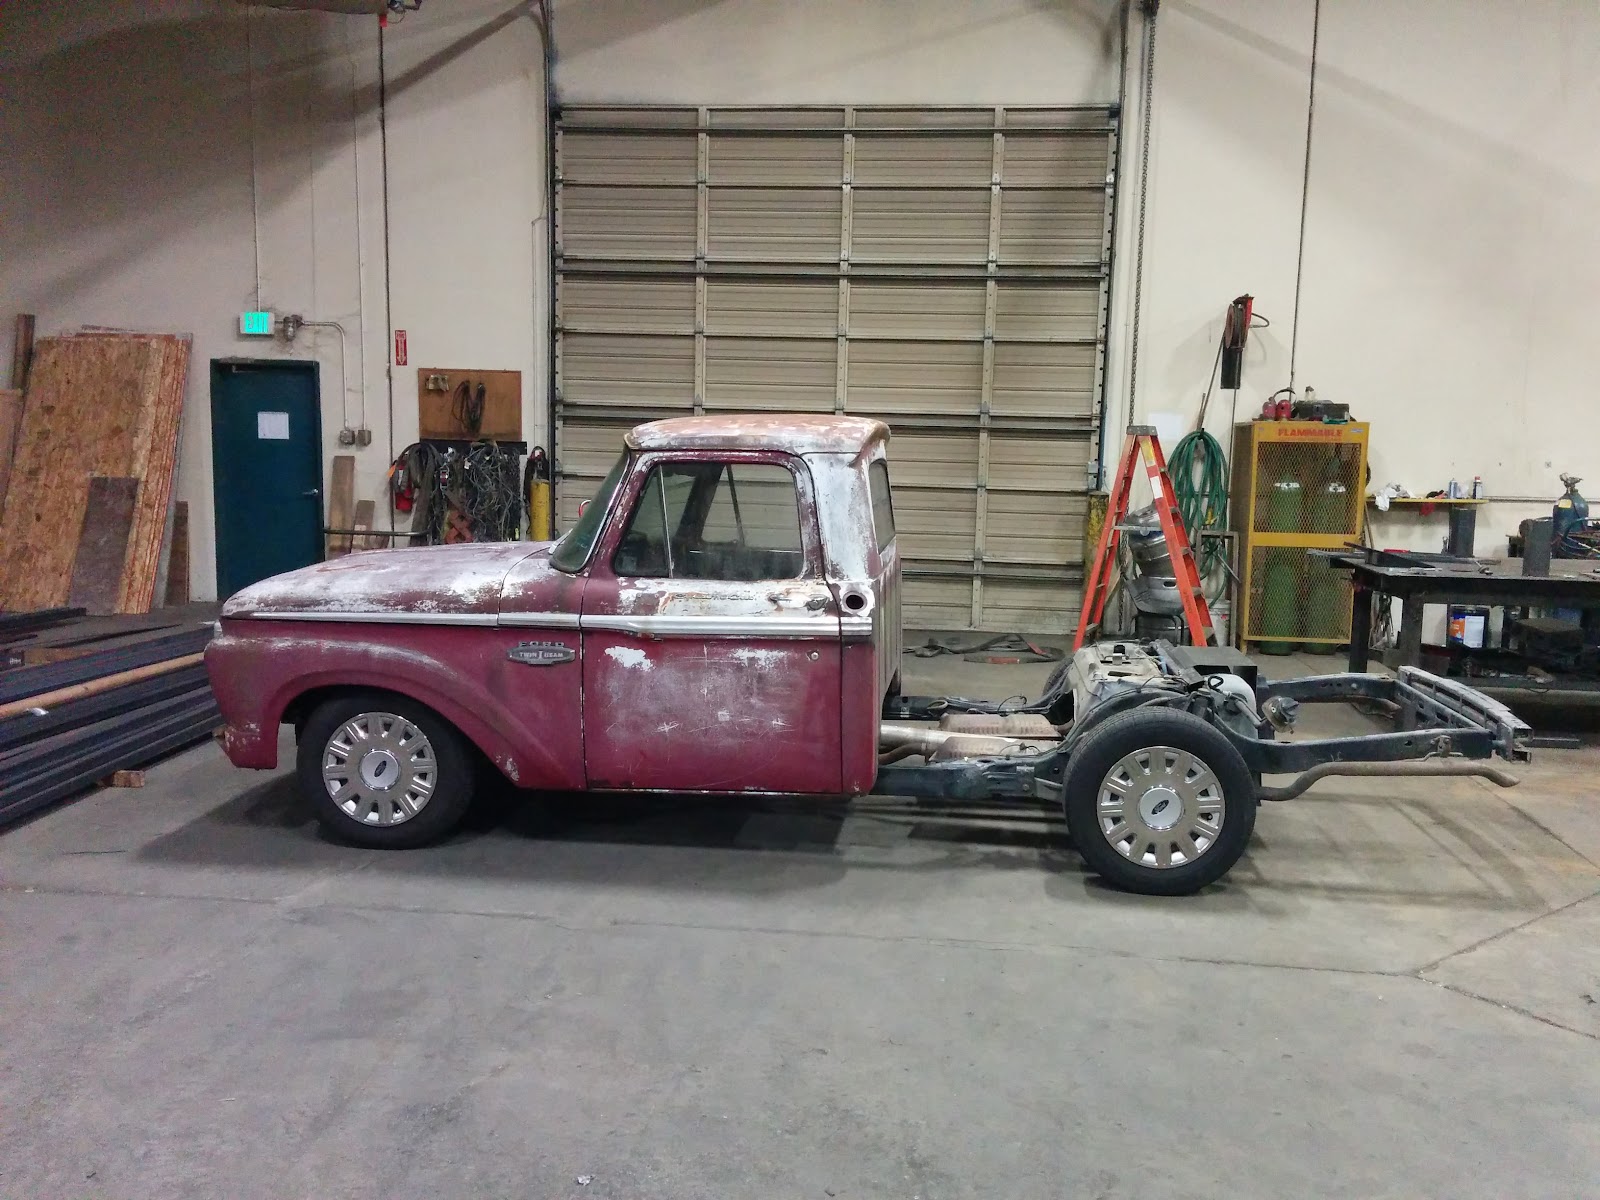
Took a little time off my project to give Troy a hand building his own "Cruck", which is what we've taken to calling these Crown Victoria trucks.  His is a '66 F100 on an '05 Police Interceptor frame.  


Got a new engine cover, added trim rings and center caps to the stock Vic steel wheels


Went to the Portland Transmission Warehouse show, Troy's truck made it's first appearance as well


Picked up a different steering wheel at the Portland Swap Meet, I think it's a big improvement


Threw in a temporary wood cover in the bed to keep things from falling out 


Went to a Slo Poks Alley at Troy's, showed the truck off to a few guys that were interested in the details


Crystal & I took the truck to the Clatskanie Cruisers annual car show.  It was a great show, I plan to go again.  I even won an under construction award, sponsored by the Clatstkanie Volunteer Firefighters Association


Troy helped me out with a cab corner and started body work on the front passenger side of the bed


I installed rear air suspension out of a civilian Crown Vic (police models have extra stiff springs in the rear).  I don't have it set up to go up and down quickly, but it does allow me to adjust the ride height as needed.  There's quite a bit of travel.


I also cut the front springs down a bit since the police cars sit higher than normal, and swapped out the chrome center caps for some chrome lug nuts.  I don't have a lot of wheel options and the tires are good, so I'm trying to do what I can to make them look decent.

Made a quick video to show the new ride height


I also took the truck on it's first big road trip, but I'll save that for the next post...


Saturday, February 28, 2015

Taillights, mirrors

Haven't posted much lately, been too busy driving it!  I have made a couple of minor improvements-  Replaced the mirrors, installed some '50 Pontiac style tails, tweaked the timing and shift points, rebuilt the passenger door internals so the window goes up and down... minor stuff.  Mostly I've just been out driving it and enjoying it.  Here's a few pictures for now.

'50 Pontiac tails


And here's the original tail light style, it's a big improvement

A picture from Red Door Meet in Portland


Went to Cars & Coffee with Troy & Wendy


And a picture from Dave, he had the cool bug parked next to me

Thursday, February 12, 2015

Sunday, February 8, 2015

Bed and Front Bumper Installation

Yesterday was the two month anniversary of this project, and boy was it a long day.  At this point I can officially call the swap complete... there's still body work left to do and other improvements to be made but everything is put back together solidly and I the two vehicles have been merged into one.  On to yesterday's accomplishments...
I met Troy at his work at 8:00.  First we got the bed up on a table and cut out a section for the rear end/gas tank hump:


Next came the task of widening the fenders.  We needed close to an inch on each side to allow for the wider track of the Crown Vic.  The stock fenders curve in towards the tire, we needed to make them more or less vertical.  I'll let the pictures do the talking here:


There will be some further welding and shaping needed later, but this gave the clearance needed.
After some test fits we figured out where to cut the rear frame off and build new frame pieces.  Unfortunately I didn't get pictures of the new rear section, but I will try to get under the truck and add them later.


This all took longer then expected, so I forgot to keep snapping pictures.  After the new frame section was built we test fit the bed, got it square and level, and fabricated mounts in the four corners.  The bed was bolted into place and Troy got to work fabricating a front bumper mount while I wired up the rear lighting.  We probably should have saved the bumper for another day, but we were getting so close to done we had to push on.  Finally, at 7:00 in the evening, it was all back together:


So happy with how it sits, this project has far exceeded my expectations.  It's amazing how far it has come in two months, and it never would have been possible without all of Troy Jackson's hard work, knowledge, and skilled fabrication.

Today I did tie up another loose end, mounting the Vic gauge cluster in the dash (it had just been sitting in there).  I trimmed the cluster down, cut out the stock dash bezel, put a thin sheet of lexan behind the bezel, then secured the cluster.


Maybe someday I'll get some retro styled gauges, but for now it gets the job done.

I also added an extra touch, just something to hint at what's going on underneath this old truck:


This is the Police Interceptor badge I hacked off the trunk of the donor car.
That's it for now, I will try to get a walk-around video up in the next few days and will continue to post when I have major changes to report.  But mostly I'm just going to get out there and drive it around every chance I get!
Feel free to ask questions or request pictures in the comments of any post and I will be happy to help.

Thursday, February 5, 2015

Bed shortened

Been working on lots of little stuff, but nothing picture worthy- painting the new sidesteps, replacing rear rotors, changing around the wiring under the hood a bit, etc.  Last night i was able to meet Troy at his work and we made some good process finishing up the shortening of the bed.

I had decided that taking 8.5" out of the rear, along with the 3.5" we already removed from the front, would look the best using some crude photosshopping.  This would bring it down to a 7' bed.  The stock long bed was 8', the short bed models are 6.5'.  The short beds I've seen in pictures don't look quite right, they are just a bit too short and their tail light panel is too long.  I think when it's all finished up it will look like it should have come that way from the factory.

First we marked off the 8.5" and started cutting:


The 8.5" section removed...


The rear section was hung and clamped in place while we fixed the gap all around, then on to tacking it in.


As you can see there is a big difference between the transitions at the bottom of the bed side.  We brought the rear part down a bit and the front up a bit until they met in the middle:


It will still need a little shaping but it is solid now and can wait until after the bed is on the truck.
Here's a picture of the shortened bed:
 

Up next will be flaring the fenders and installing the bed.  It will finally be a truck again!