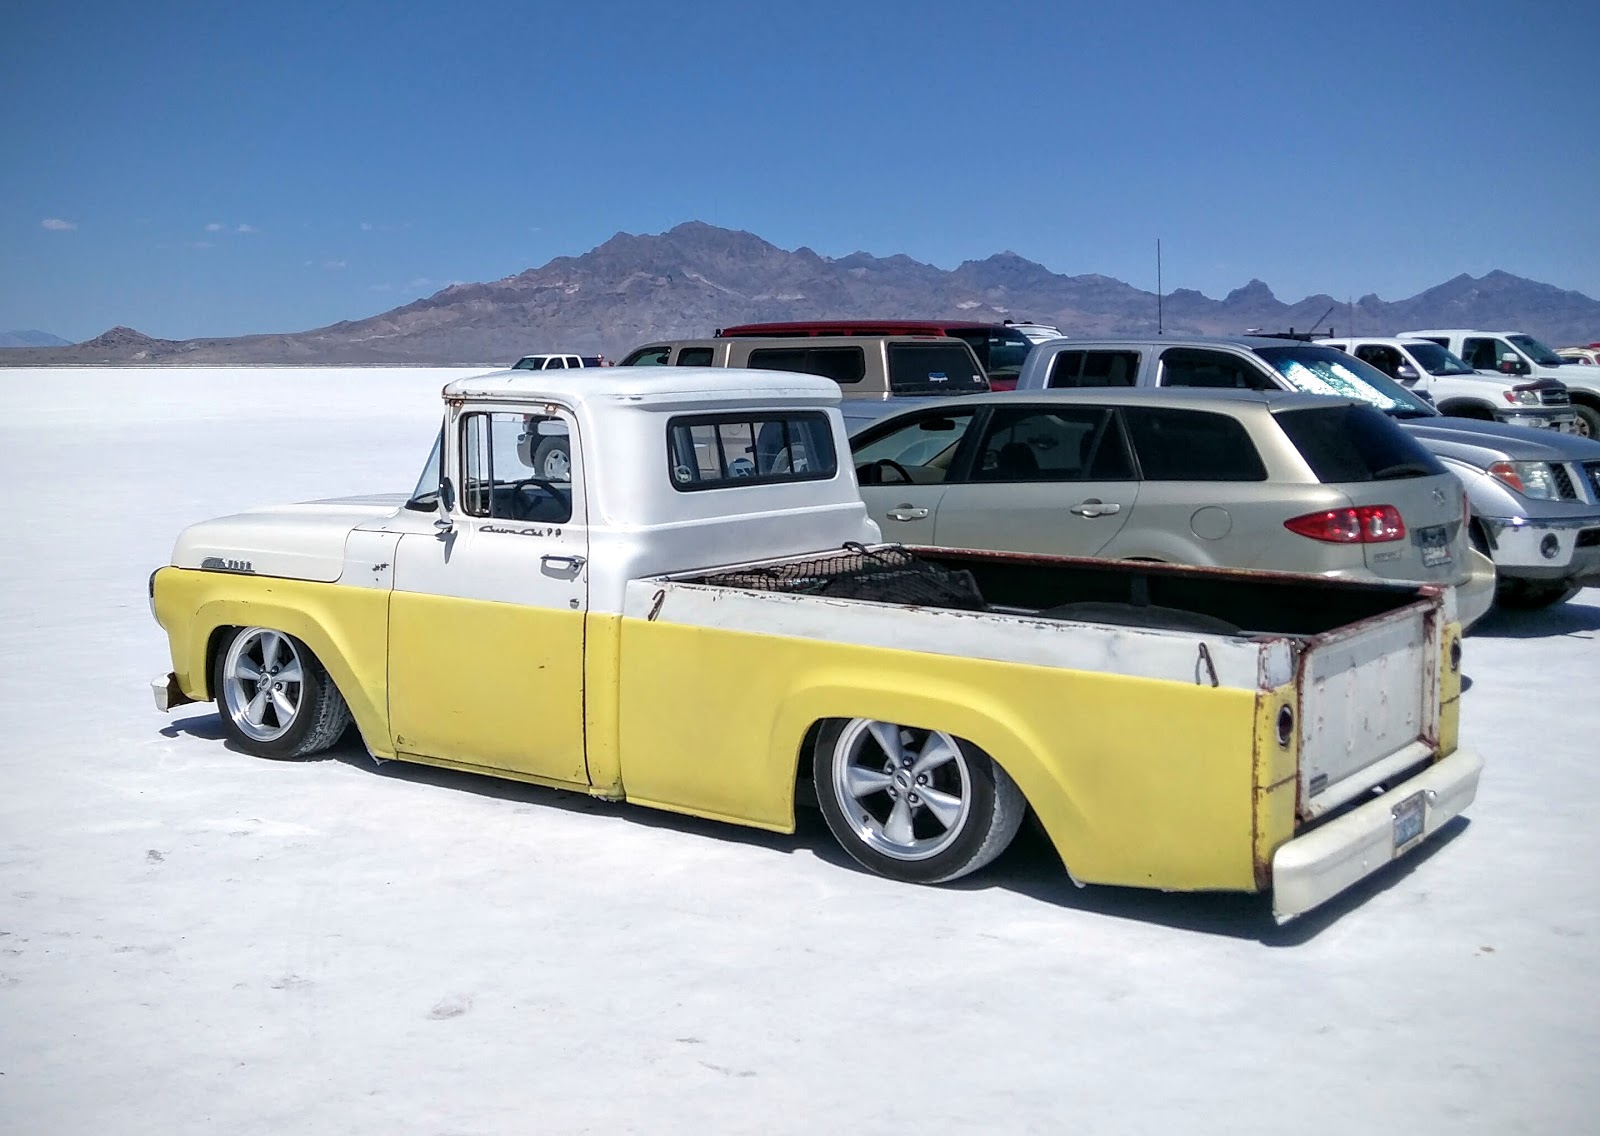
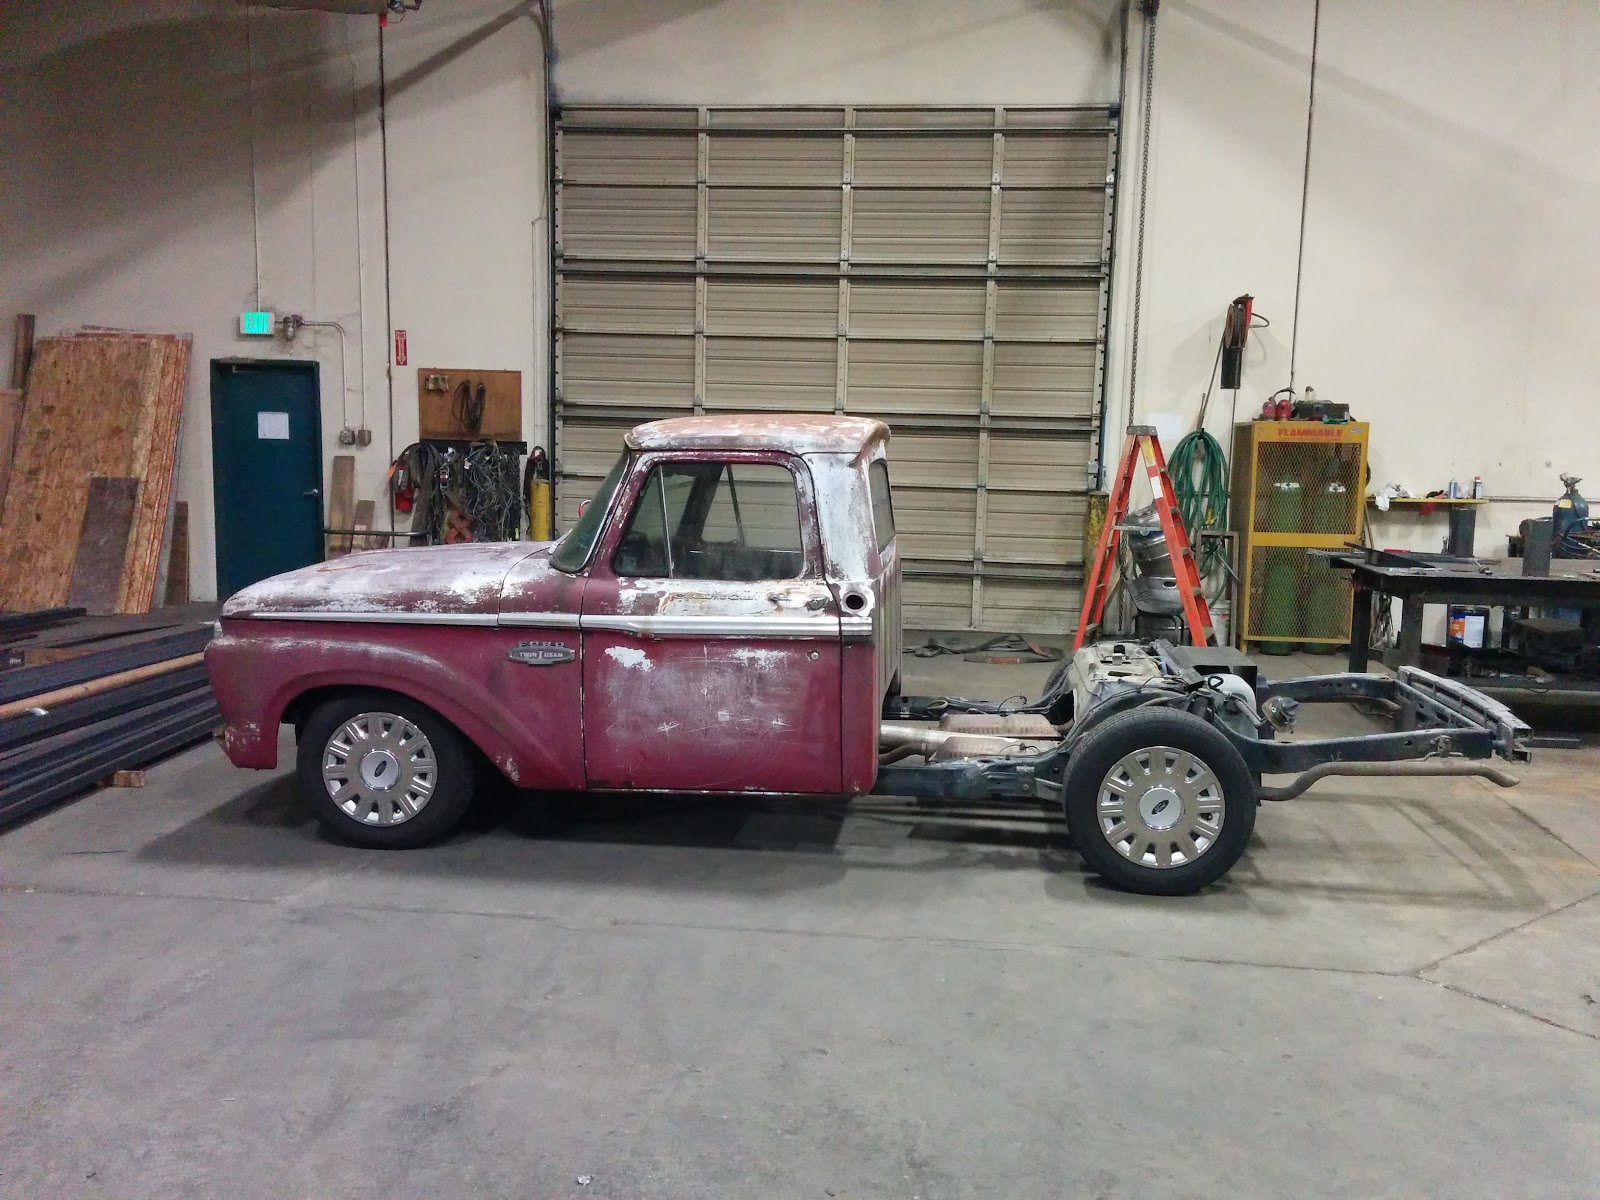
Time for another road trip! Last year Troy and I had planned to take the truck on a guys trip down to Bonneville for Speed Week. Unfortunately Speed Week was cancelled due to poor salt condition so we ended up going to Hot August Nights. This year the salt was in good shape so we decided to go down there and check it out. Truck ran great on the 1,500 mile trip and the recently updated bench seat was very comfortable, but we sure could have used some air conditioning. The sliding rear window does help a lot but I think I'm going to make AC a priority before next summer.
To prepare for the trip I recently swapped the rear end for one out of a '99 Police Interceptor. This had to be done for rear fender clearance. With the wider, lower offset wheels the tires have been rubbing when the rear was lowered which could be trouble if one of the bags had an issue on the trip. The earlier rear end is 7" narrower, allowing plenty of clearance. This keeps the truck drivable in the case of a rear bag failure. Since I was switching rears I found one with Trac-Lock and 3.55 gears (previously was 3.27) for better acceleration and traction. I was a little concerned about mileage after the swap, but I calculated the mileage at about 20mpg going over 70 most of the way with windows down (and even 80-85 through Idaho). We made the trip home in 12 hours with a couple stops for meals, a couple fill ups, and a rest stop.
I've posted a video on YouTube that has pictures and video highlights of the trip, you can view that here: https://youtu.be/jVHuX9QFwuw
Time for an update! There's really nothing major left to do on the truck so I've mostly just been driving & enjoying it, I've put about 15k miles on it so far. I have been slowly making minor improvements to some areas that were bothering me, so here's what's been going on.
Hood
I've never been a huge fan of the hood on this truck. From the front it looks like it's not latched. I much prefer the looks of the 57/58 hoods, which are a little tough to find in good condition. Luckily there were a couple for sale at the Portland Swap Meet this year, and I picked one up. What I didn't realize was how tough it would be to find an emblem for it... I managed to modify the emblem from my '60 hood and it's actually starting to grow on me, even though it's way larger than the correct emblem would be. It'll work for now. Here's a couple pictures:
Original hood:
57/58 Hood:
Rear Bumper
When I got the truck it had a huge monstrosity of a step bumper, which I scrapped right away. Kind of a shame, because it probably would have went well with the overall look of the truck today. I looked into stock bumpers, but they are chrome and really don't flow with the look of the truck. And they are never available used. So I kept scanning CL, and swap meets, until at the Portland swap meet I found a late 60's Ford truck front bumper. For $15, it was worth a shot.
Obviously too wide, and too chrome, but that's fixable. I took a few inches out of it, cut off the parts that would normally wrap around the sides of the truck, fixed a dent and some holes, and painted it up. Here's some pictures of the progress:
And here's the final look on the truck, taken while I rolled through Red Door Meet:
Another thing you might notice in this picture is the bed side is no longer various colors of primer... I had some paint mixed to match the existing yellow, and touched up the spots where the bed was shortened and the fenders were widened. I don't have any plans to paint the whole truck, but I also didn't want it covered in primer spots. I'm pretty happy with it now.
Seat
In a previous post I covered the installation of some bucket seats... in a parking lot... in Reno... They were comfortable for two but just no good when I want the wife & son with me. So I found a late 70's Ford truck seat that was pretty comfortable and picked up replacement upholstery from Raybuck. I think it looks great, and it's very comfortable.
Bed
One of the first things that people notice on the truck is always the giant hump in the middle of the bed. One of the downsides to putting your truck on a car frame, there's a big kick up over the rear axle. In this case the gas tank is under there too. I shrouded it with some sheet metal and a wood access cover last year, but it's something I've been wanting to change up.
I considered making a better looking shroud, but I really didn't like a hump in the middle. Generally when I'm hauling anything fairly big its sheets or planks of wood. So I decided to just make a false floor, all one depth. I made a framework of 1x1 and 1x2 tubing, used s couple sheets of plywood to make the floor, painted it up, and added bed strips for a sort of a classic wood bed look.
The center section is removable with a few screws. Ahead of the hump I left storage for my spare tire, tools, air tank, and compressor. Behind the hump, accessed through the tailgate, is basically a "trunk" that will be enclosed for dry storage.
It's shallow, but I'm going to build some removable stake sides I can use when I need the extra depth.
That's about it for now as far as recent updates go. My next big change will be finding a 98-02 rear end, which is several inches narrower, so I have more clearance for the rear wheels. I really should have done that in the first place, and I would recommend this to anyone attempting a similar swap. I also plan a higher rear end ratio and limited slip while I'm at it.
In closing, here's a few recent pictures I've been collecting. Feel free to check out my Instagram for more, @mtnjasons:
Last Sunday was the one year anniversary of getting the F100 Interceptor on the road! Can't believe I've been driving it that long already. With spring just over a month away I've started on the projects for this year. I have a list of things I'd like to accomplish before May: Body in decent shape (maybe even some paint), bed floor installed, front suspension improvements (camber reduction at full drop), and some changes to the seating. That will be covered in future updates but for now lets go over the things I have already started work on. You can also check out my Instagram for more frequent pictures.
Gauges
Since the swap I've been using the stock Crown Vic gauges, trimmed down and stuffed in the dash behind a cut up stock bezel. Functional, but not much to look at. Here's the Vic gauges:
I really wanted something that didn't stand out as obviously out of a newer car, and had even taken apart a spare Vic cluster to try to mount the gauges individually behind smaller cutouts. It would have been a ton of work and still not really been what I was looking for, so I started looking at aftermarket gauges. I couldn't find anything on the net from someone using aftermarket gauges in a Crown Vic, so I had to just figure it out on my own.
I found a pin out wiring diagram for the gauge cluster connectors here, checked the wiring diagrams in my electrical manual, and saw that the gauges seem to work pretty much like any aftermarket gauges. They get key on power and ground, and a signal from a sending unit. Having no experience with this sort of thing I figured I better test it out and found a cheap used Dolphin Gauges programmable electronic speedometer on eBay. I hooked some jumper wires into the Vic gauge harness and went for a drive and the needle moved. I followed the calibration instructions and it was accurate. Success! But now I needed, at a minimum, a gas gauge and water temp gauge. Some research revealed that late model Fords use a sending unit with an ohm range of 16-158 ohms. Dolphin doesn't make such a thing so I found some Classic Instruments gauges that were close to my Dolphin Gauges speedometer, and added a couple dual needle air pressure gauges for the bags. But then the Dolphin speedo looked mismatched so I ended up finding a Classic Instruments vintage series speedo on closeout that matched the other gauges. Turns out the new speedo is a little pickier about speed signal so it required a $100 adapter.... let's just say this didn't end up being the cheap way to go. But I am happy with how it looks:
Still wiring up the warning lights (check engine, brake warning, OD off, high beam, etc) but I should have those in this weekend.
If I was to start over right now I'd probably go with Auto Meter gauges, they seem decent and are relatively inexpensive. Here's some examples of basic black and white gauge setups, with current prices at Summit Racing. I'm sure they could be found at Amazon, Jegs, egauges.com, etc.
Basic aftermarket gauge package for 03-05 crown vic
White Auto Meter Phantom Series
Black Auto Meter Tradional Series
Speedometer
ATM-5888
$233.95
ATM-2489
$213.97
Water Temp
ATM-5737
$62.95
ATM-2532
$57.97
Fuel Level
ATM-5718
$53.95
ATM-2518
$48.97
$350.85
$320.91
These are electronic programmable speedos that should work with the signal in an 03-05 Crown Vic, and the gas gauges are compatible with the Vic sending unit. The temp gauges should work, but if they don't worst case is you have to add their temp sending unit and wire it in.
If you want to incorporate air gauges I'd recommend the Viair 90083 for a white gauge setup, it's only $36. RideTech makes a nice looking black gauge but it's $80, there's probably a cheaper option out there.
Wheels
Another thing I've been wanting to update is my wheels, and I needed new tires so figured I better have them mounted onto something I liked. There is not a lot of room with how wide the Crown Vic is compared to the truck.. Pretty much anything besides the stock 16x7s with 54mm positive offset would hit the fenders. So I tried to find something that looked good but was still fairly close to the stock wheel offset. I focused on late model Mustang wheels, as they have similar offsets. After much research I settled on some 17x8 Bullitt wheels, with 45mm offset. These can be found very cheap, a lot of people take them off late model Mustangs when they upgrade to larger wheels. I found them for $63/each, including shipping. They were nearly brand new with less than 5 miles on them.
I went with a slightly narrower tire than stock Vic, and a little shorter- 215/50-17. This would help my clearance issues a little. Still, I needed another 3/4" clearance out back so I cut the fender up to flare it a little. I still have a little more work to do but I was able to make them fit. I think it's a huge change, very happy with the look:
I'm planning to make some new videos covering the progress on my truck as well as Troy's '66 very soon, they will be on my YouTube channel in the near future and I will put them up here as well.
Finished my air bag installation. If you've been following my blog you might remember I had previously installed rear bags from a civilian model Crown Vic. They don't raise/lower very fast but they fit easily in place of the rear springs and are designed to work with the Vic with no hassles. That has worked great to adjust rear height to compensate for whatever I carry in the bed, but I wanted to have some adjustment in the front too.... so I started collecting parts.
I picked up an air tank (and an air horn!) off craigslist, bought a Little Larry's manual switch block, and a Viair 444C compressor. Then I was able to get a set of used UAS Aero Sport bags for the front. These have a hole in the middle to allow them to replace the coil springs on the front struts. Troy fabricated some bag mounts for me in our shop at work after hours and I finally got airlines run and everything installed. I think it looks great aired out, it's not "laying frame" by any means but it's definitely low. Still needs some modifications to the bag mounts for more upward travel, but it can go high enough that the tires don't rub at all. My YouTube page has a video showing the travel, and here are some pictures of the front strut assembly and photos of the truck all the way down.
Since it's become my daily driver I've been dying to take the truck on a longer road trip to see how it holds up. Troy had been talking about going to Bonneville for speed week and that's something I've always wanted to see so we made plans to go to Utah. Unfortunately speed week was cancelled this year, but with days off already planned I started looking for something else going on around the same time that would make a fun trip. Hot August Nights in Reno happens to be in full swing on the weekend we had planned, and it's something neither of us had been to so why not. The wives had other things going on (and the lack of A/C in our trucks probably didn't help) so we decided to make a guys trip out of it and off we went.
We took off in the afternoon on a Thursday and went as far as Bend the first day. Truck ran great, but a saggy spot in the bench seat was a real back killer.
We camped near Bend and between the saggy seat and sleeping on the ground my back was a wreck the next day. Troy took over driving to give my back a much needed break and it loosened up some, but that seat had to go. More on that later...
Anyway, we made it to Reno with no problems at all. I only calculated fuel mileage on the first two tanks. Tank #1, with a little in-town driving before getting on the road, was a decent 20 MPG. On the second tank, strictly freeway driving, we hit 25 MPG. Not too bad for 65-70 MPH in a truck that's only slightly more aerodynamic than my house.
We hadn't really put a lot of thought into what to do once we got down there, we knew there were car shows at pretty much every casino but that was about it. After checking into our hotel we decided to head to the nearest big casino and see what was up. We had only been there for a few minutes when I spotted what looked like Crown Vic steel wheels on a Ford truck. Sure enough it was another Cruck (our nickname for Crown Victoria trucks)...
We talked to the owner Kyle, who had driven it down from Seattle with a friend. It was a 64- a little newer than mine but a couple years older than Troy's. A lot more polished than ours, he kept the Vic floor and mated that to the truck cab. He also raised his entire bed floor up to accommodate the rear end which was the only thing I wasn't too keen on. It was great exchanging ideas, checking out his truck, and showing off mine. We also learned that to participate/enter in all the shows, and even to cruise at night, you have to pay a $200 entrance fee in advance. I hadn't done that, and my truck wouldn't really fit in with the sea of shiny tri-5 Chevy's, Camaros, Mustangs, etc. No big deal, still lots to see down there.
Since we didn't have the pass to enter the cruise we decided to go have a look at the other cruisers. Lots of revving engines, drunk crowds, pretty crazy. So after that we went and checked out parking lot drag racing... very short track but hey, it's in a parking lot!
It was late and there wasn't much more to see so we called it a day.
The next day we decided to hit the swap meet. It was pretty decent, I found a big hood ornament cheap which is something I'd been looking for. But the thing I couldn't get off my mind was these sets of bucket seats for sale... They were rear stow-n-go seats from Caravans, available in a variety of colors/fabrics. With my aching back reminding me of my bench seat I knew I had to get a set- no idea how we could install them, but we had to find a way. While I tried to rationalize $350 for mocha leather heated versions we went and watched some parking lot autocross that was going on. I loved this Caddy! It could barely make the tight turns, but it was awesome.
I couldn't bring myself to spring for the most expensive seats, so I settled for black velour seats for $120. The deal was done. We had no welder and nothing to cut metal with, but I did have an impact driver. We stowed the seats in the motel and headed to Lowe's for supplies.
Next up was motel parking lot engineering at it's finest. Of course that was the only time on the trip it decided to rain, but we got it done...
Not perfect but good enough to get us home! Reminded me of something you'd see on #roadkill. With that handled we checked out some more show cars then went looking for this night's cruise to watch. Troy was driving and we somehow ended up at the entrance to the cruise... we had no entry pass but played dumb, ignored the guy directing traffic yelling at us and snuck into the cruise.
I stuck a white piece of cardboard in the window that somehow passed inspection by one of the event staff (it really looked nothing like the fancy holographic pass) and we made one loop before we decided to quit pressing our luck. We checked out one more parking lot show then called it a night.
We got up Sunday, had some breakfast, and decided to head out. A quick stop a random garage sale, a tank of gas, and we were on our way. We had planned to camp on the way back but we were making good time, it was a nice day, and the seats were so comfortable that we just kept going.
A stop for gas yielded the only broken part on the trip- One of my wiper blades just spontaneously disintegrated while cleaning the windshield. No idea why that happened, but we didn't see anymore rain so it didn't matter.
Overall I couldn't have been happy with the truck's performance. Checking out another Cruck, swapping seats in a parking lot, and sneaking into the cruise were all way better than the rows of show cars and made for some great memories.
I've been driving this thing for six months now, racking up a little over 6,000 miles, and figured it's long overdue for an update.
Lots of little details have been taken care of since my last post- Carpet is in, windows & door locks working good, wiring has been cleaned up, the cutout in the bed floor covered, some of the body work on the bed & a cab corner are done (thanks to Troy), exhaust has been through several iterations, and I even entered it in a car show and received an award! Here's a few pictures I've taken along the way...
Drove in the Paddy Hough Parade with the Slo Poks
Took a little time off my project to give Troy a hand building his own "Cruck", which is what we've taken to calling these Crown Victoria trucks. His is a '66 F100 on an '05 Police Interceptor frame.
Got a new engine cover, added trim rings and center caps to the stock Vic steel wheels
Went to the Portland Transmission Warehouse show, Troy's truck made it's first appearance as well
Picked up a different steering wheel at the Portland Swap Meet, I think it's a big improvement
Threw in a temporary wood cover in the bed to keep things from falling out
Went to a Slo Poks Alley at Troy's, showed the truck off to a few guys that were interested in the details
Crystal & I took the truck to the Clatskanie Cruisers annual car show. It was a great show, I plan to go again. I even won an under construction award, sponsored by the Clatstkanie Volunteer Firefighters Association
Troy helped me out with a cab corner and started body work on the front passenger side of the bed
I installed rear air suspension out of a civilian Crown Vic (police models have extra stiff springs in the rear). I don't have it set up to go up and down quickly, but it does allow me to adjust the ride height as needed. There's quite a bit of travel.
I also cut the front springs down a bit since the police cars sit higher than normal, and swapped out the chrome center caps for some chrome lug nuts. I don't have a lot of wheel options and the tires are good, so I'm trying to do what I can to make them look decent.
Made a quick video to show the new ride height
I also took the truck on it's first big road trip, but I'll save that for the next post...