Note

NOTE: Most recent posts are shown first. Please use navigation at right to start at the beginning (December 2014)

Sunday, January 25, 2015

Side steps, brake pedal, mufflers, start of bed work

Made some good progress today.  Started with the side steps, where they were cut out to accommodate the wider frame rails.  Troy made some new steps out of sheet metal:


Adds a lot of strength to the cab floor and it cut down a lot of the road noise.  In between helping out with the steps I got working on the mufflers, the stock ones were ridiculously quiet.  It's a little better, real nice sound but still very quiet.  I'm pretty sure the catalytic converters are plugged (the Crown Vic came with four of them!) but those will eventually be removed.  Here's the new ones in place:


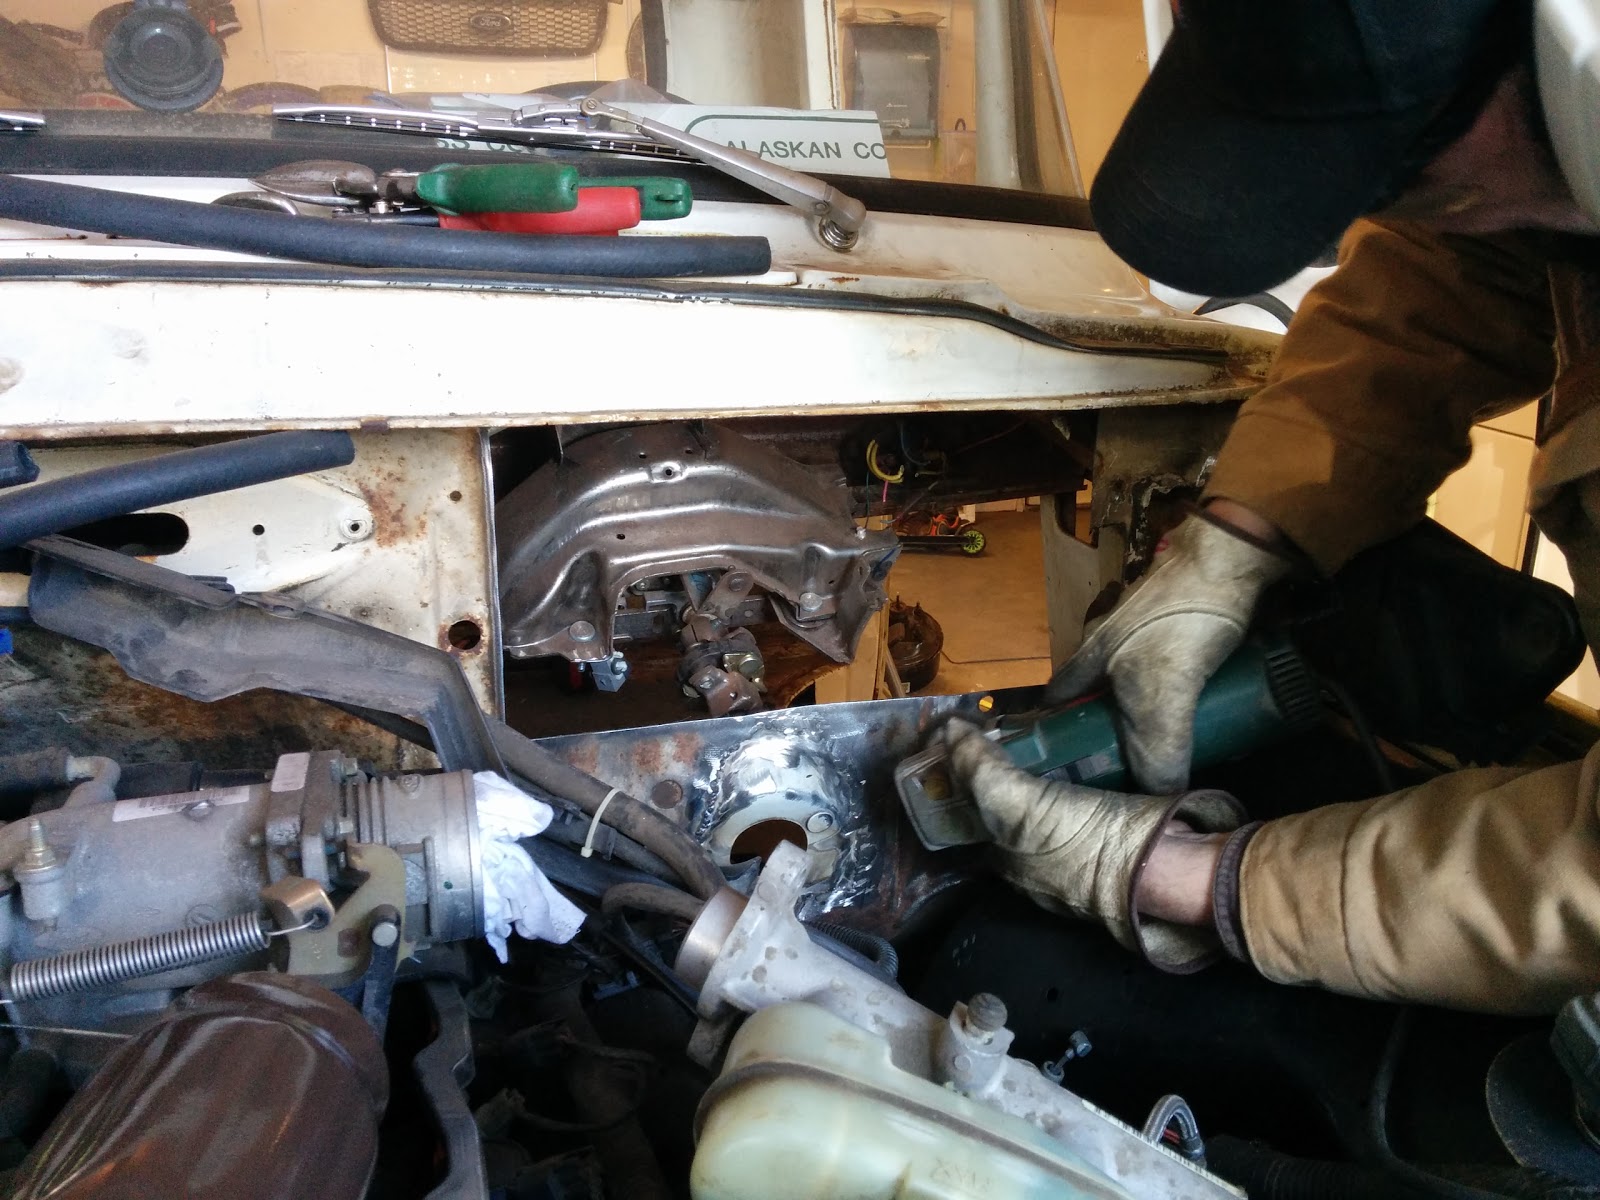
Next we spent some time on the brake pedal.  The Vic pedal sat way to high and too far to the left, so the pedal arm was modified to bring it down and over.  Don't mind my ghetto carpet: 


Finally time to get started on the bed.  This is the biggest remaining challenge.  Due to the difference in wheelbase between the truck and the CV the bed needed to be shortened by 3.5 inches so that's where we started.  We cut the pinch welds at the bulkhead, cut the bed sides and floor, the moved the bulkhead back:


That's as far as we could get today.  Before we put the bed away for now we did move it over the truck to have a look at the new length:


I'm probably going to shorten the back a bit as well, but lots to do before then.  The rear frame will need to be shortened and dropped down, the bed floor cut out some, and the fenders widened.  It will be a couple weeks at least before Troy will be able to help me with the bed so the next couple updates will be interior work.

For anyone looking to do something similar- I learned from a member on the Facebook group "Custom Classic Ford F100 Trucks 1957 1958 1959 1960 F-100 Rat & Hot Rods" that the Lincoln Town Car wheelbase is 0.3" different than the 57-60 F100 wheelbase. That would save some work modifying the bed, which is a pretty big task. Ideally for a full frame swap it would be better to use an '02 or earlier in my opinion, the track width is narrower giving you more wheel options.

Friday, January 23, 2015

Videos posted

I have a few videos up on YouTube, nothing fancy but shows some details not captured in pictures.  This weekend I will add a more detailed video of progress so far.  

Here is the link:

http://www.youtube.com/playlist?list=PL3tEbvagefKI1eGipH2yx5XWLrTT8nDp9

Tuesday, January 20, 2015

Wipers, seat belts, engine bay

Got a few more things figured out.  I had been planning to use a mid 80's ranger wiper motor due to the size of the Crown Vic unit, but after working with it some more I was able to make it fit the wiper motor plate.
There's a small piece of the wiper linkage that attaches to the motor shaft.  I cut the old and new pieces in half and then welded them together so it could connect to the new motor and the old linkage.  Here's the view of the wiper motor in place:


I was worried when I powered it up, thought it might start off the wrong direction or be the wrong amount of travel for the truck wires, but it worked perfectly.  I had to adjust the wiper arms slightly to get it perfect but now I have intermittent wipers that park, controlled off the wiper stalk.  Amazing.

With this done I finished up some wiring-  ran the wires to the rear ABS sensors, routed the rest of the wiring harness through the passenger side firewall.  I'm planning on driving it a bit this weekend so I installed seat belts as well.  Here's the state of the interior right  now:


Next I turned to the engine compartment.  The stock Vic airbox was too big to fit anywhere so I went with a cone filter.  Here's a shot of the state of the engine bay:


It was quite a mess in there, so I cleaned up the bulk of the dust and started routing the wiring harnesses.  The power distribution box is not in it's final spot as I need to get a longer positive batter cable:


I think it's starting to look pretty decent in there!  I found a plastic engine cover as well, it's on the way.  Normally I hate plastic engine covers but I think in this case it would highlight the fact that I have more modern engine in there.

With the bulk of the work in the bay wrapped up I put the hood back on as well.  Unfortunately it was getting dark so I didn't get a picture of that yet.
The rest of this week I'm going to work on some minor stuff, changing up the headlights a bit and going to see about getting front turn signals in operation.

The next big update will come after the weekend.... I'm taking it over to Troy's work for a day and we should be able to get the steps installed, change the brake pedal placement, and maybe even change up the exhaust.  I plan to make a video at that time recapping all the work so far, it's hard to capture everything in just pictures.

Wednesday, January 14, 2015

Test Drive

Been working on wiring pretty steadily.  There is a lot to hook up and routing it is going to be challenging, in most places the existing harness is way too long.  I'm probably going to end up cutting it down, and possibly trimming out some of the climate control wiring as I think I've decided against using the stock Vic A/C and heat.  The parts are turning out to be way to big to mount neatly in the truck, considering a universal unit or a rear heat/AC unit from a Suburban or a Van.  I think that will be a lot cleaner.
I also got the lighting for the most part working-  parking lights, turn signals, hazards, headlights w/brights.  The only real issue with the lights is the brake light switch, the stock unit just won't fit so I'm going with a more universal switch.  While I wait for that to arrive I hooked up the old Vic trunk release button as a hand operated brake light switch.

With all the essentials hooked up I figured I better take it for a little drive and see what happens...


It's still a little rough, pretty noisy inside with no carpet and a lot of holes left in the firewall.  But still drives far nicer than before I started this project.  I do have a problem with the glove box door-  it's spring loaded and it won't stay shut when I give it gas.  Never had that problem with the stock 223.

I'll post pictures when I get the brake switch figured out, and as I get the wiring routed.  Still lots to do but getting there...

Wednesday, January 7, 2015

One month update

I'm now one month into this project so here's a little update.  I've been doing some painting, trying to protect the new metal and clean things up a bit so I can start assembling and get this thing running again.  Still lots of work to be done but if I can get the truck driving again it will be a lot easier to take it over to Troy's where some jobs will be easier to finish.

Inside the cab I cleaned up the floorboards and applied some POR 15 to put a halt to the rust while work progresses.  I also installed the brake pedal, gas pedal, lower steering column, shift linkage, and PCM.


In the engine compartment I cleaned and painted the firewall then mounted the brake booster.  I also finished painting the battery box but it still needs to dry.


Next steps will be installing the battery and routing all the wiring.  I also have a wiper motor from a Ranger on the way, which I hope to adapt to both the Crown Vic wiring and the F100 wiper linkage.  If all goes well I should have this thing running within the next week or two.


Thursday, January 1, 2015

Firewall work, battery box, miscellaneous stuff

I've been plugging away and now it's finally time for an update.
Over the last week or so I stripped the inside of the firewall down, pulled the old insulation down and took out the heater core/blower motor.  Next I wire brushed the floor of the cab in preparation for some POR 15.  No pictures, but I will post once it's painted.  
Then I figured out placement of the PCM and main cab wiring harness: 


Very tight next to the booster, but I squeezed them in.  Had to remove a brace from the driver's side hood hinge to get it to fit.  Once I figure out a substitute brace I will post a picture of the final hood hinge solution.  

At this point I pretty much ran out of things I could do without some welding help from Troy.  I didn't have to wait long, as he came over today with one of his welders and we really made a lot of progress. 

First order of business was installing a new battery box.  The old one was mounted up on the firewall and was pretty ugly.  Now it is next to the radiator, inset into the inner fender:


Looks so much nicer!

After that we moved onto the lower steering column mount.  If you recall we roughly placed the piece cut from the Vic firewall into place.  With a little more firewall work and some welding it's now a permanent part of the truck:

As you can see in the above picture the firewall was full of holes, most of which are no longer needed.  Troy brought over some sheet metal and we marked it for the brake booster mount.  I drilled that out while Troy cut out the firewall:


And here is the new piece in place:


This piece is 16 gauge and eliminates over 15 holes, so it is quite a bit stronger.  

These were the things that were really holding me up, things are really going to start moving now.  This was all the progress I had hoped for today, but since Troy was there with his welder and some spare metal we managed to knock out a few more bits and pieces.

Insert to fill the gap above the radiator, which will also add strength to the core support:


Access panel cover (this will be secured with screws so it is removable):


And finally, gas fill hole plugged up.  Will need a little filler to smooth it out, but pretty dang good considering he beat it into shape with a claw hammer:

It was a very productive day, what a great way to kick off the new year!  

Next on the schedule will be protecting all the new metal that has been installed so far.